- Published on
Hello World web part in Outlook using SPFx
This article walks you through creating a Hello World web part using the SharePoint Framework (SPFx) and extending it for use within Microsoft Outlook.
You’ll learn how to register the web part as an Office Add-in so it can appear right inside Outlook web and desktop clients.
⚙️ Create a new SPFx web part project
Run the following command to create a new SPFx project:
yo @microsoft/sharepoint
When prompted, choose the following options:
- Solution name:
spfx-outlook-helloworld - Target for components: SharePoint Online only (latest)
- Deployment option: Allow tenant admin choice → Yes
- Type of component: WebPart
- Web part name:
HelloWorld - Framework: React
After the project is created, open it in Visual Studio Code.
📦 Install the required Office add-in dependencies
To make the SPFx web part accessible in Outlook, you need to include the Office Add-in manifest and associated tooling.
Run the following command to install Office dependencies:
npm install @microsoft/office-js --save
This installs the required Office JavaScript SDK package.
🧩 Update the HelloWorld web part
Open HelloWorldWebPart.tsx and replace the render logic with the following simple output:
import * as React from 'react';
import { IHelloWorldProps } from './IHelloWorldProps';
import styles from './HelloWorld.module.scss';

export default class HelloWorld extends React.Component<IHelloWorldProps, {}> {
  public render(): React.ReactElement<IHelloWorldProps> {
    return (
      <div className={styles.helloWorld}>
        <h2>Welcome to SPFx Hello World in Outlook!</h2>
        <p>This SPFx web part is running inside Microsoft Outlook as an Office Add-in.</p>
      </div>
    );
  }
}
🧠 Configure the Office Add-in Manifest
Inside the project’s manifest folder, you’ll find a file named manifest.xml.
Edit it to match the following example, ensuring that the URL matches your web part deployment path:
<OfficeApp xmlns="http://schemas.microsoft.com/office/appforoffice/1.1"
           xmlns:xsi="http://www.w3.org/2001/XMLSchema-instance"
           xsi:type="MessageReadCommandSurface">
  <Id>f26b3ad1-4a31-480e-8c72-dbb1b221f3e9</Id>
  <Version>1.0.0.0</Version>
  <ProviderName>Ravichandran Krishnasamy</ProviderName>
  <DefaultLocale>en-US</DefaultLocale>
  <DisplayName DefaultValue="SPFx Hello World"/>
  <Description DefaultValue="SPFx Hello World Web Part for Outlook"/>
  <IconUrl DefaultValue="https://yourcdnpath/outlook-icon-32.png"/>
  <Hosts>
    <Host Name="Mailbox"/>
  </Hosts>
  <Requirements>
    <Sets DefaultMinVersion="1.3">
      <Set Name="Mailbox" />
    </Sets>
  </Requirements>
  <FormSettings>
    <Form xsi:type="ItemRead">
      <DesktopSettings>
        <SourceLocation DefaultValue="https://yourtenant.sharepoint.com/sites/OutlookWebPart/_layouts/15/workbench.aspx"/>
      </DesktopSettings>
    </Form>
  </FormSettings>
</OfficeApp>
This manifest defines your SPFx solution as an Outlook Add-in.
🚀 Build, Bundle, and Deploy
Run the following commands to prepare the production package:
gulp build
gulp bundle --ship
gulp package-solution --ship
Upload the generated .sppkg file to your App Catalog and deploy it.
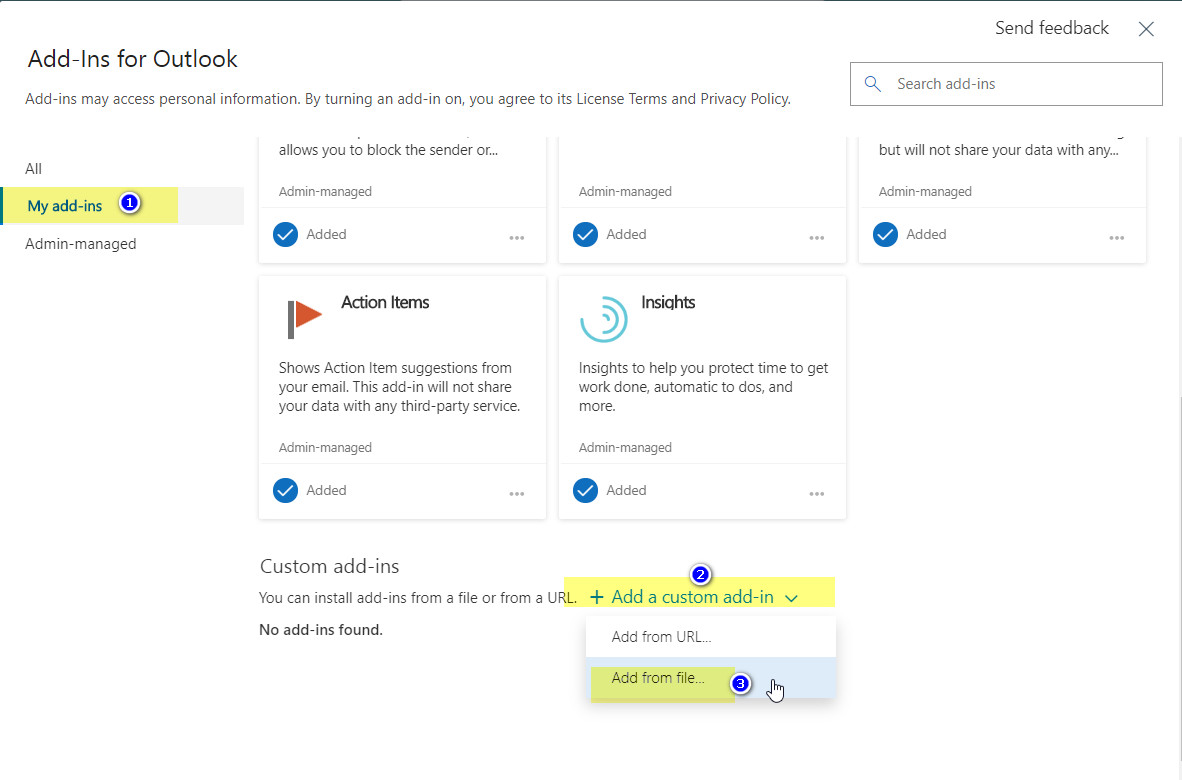
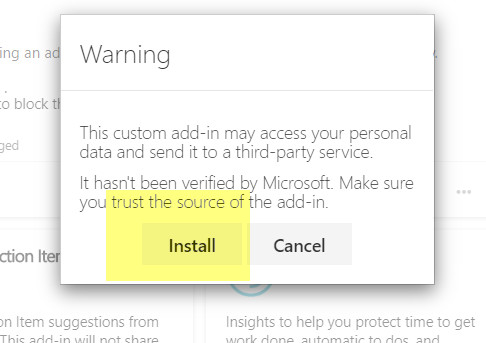
Once deployed, go to Outlook Web Access (OWA) → Settings → Manage Integrations, and upload the same manifest XML file.
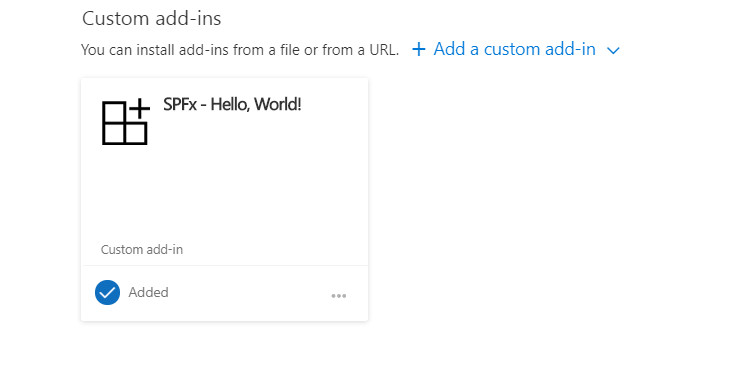
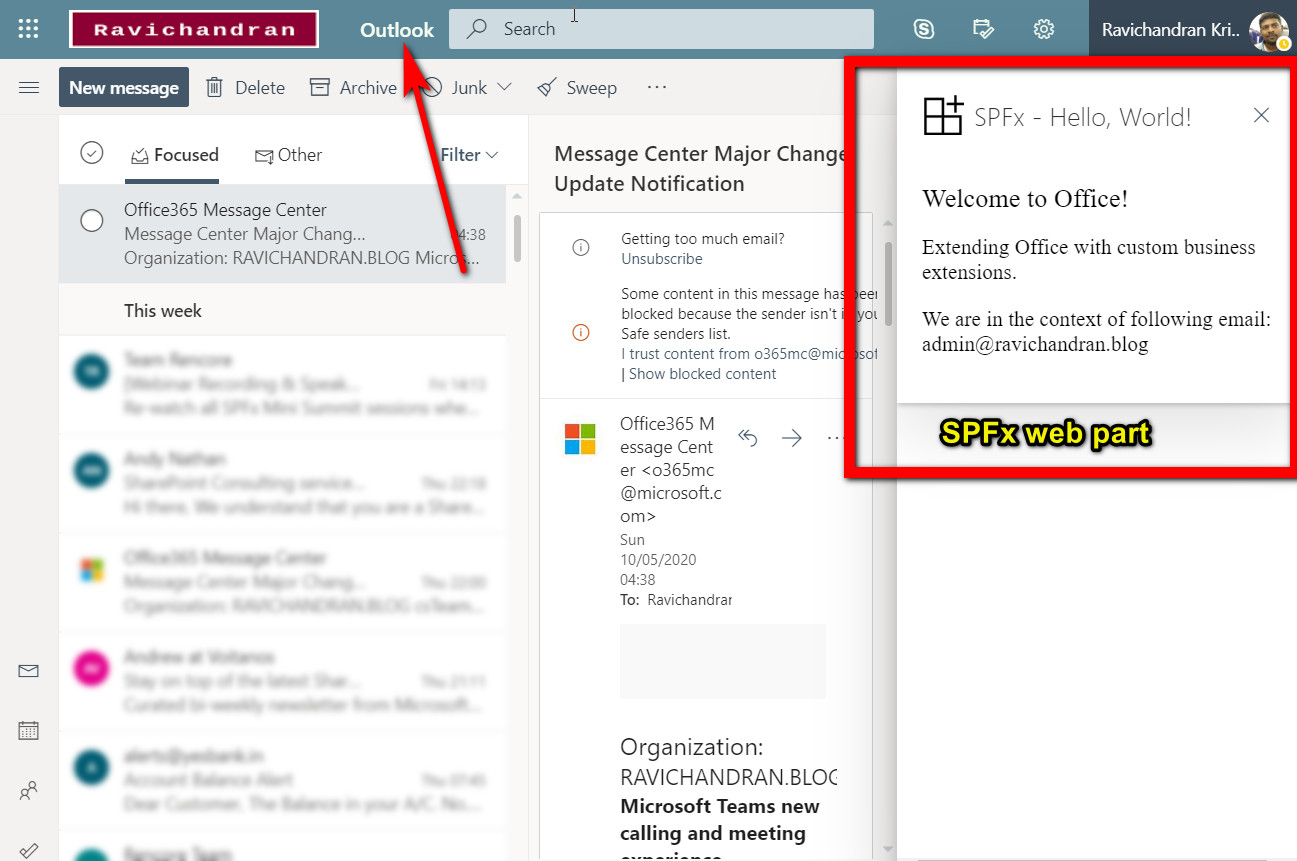
After publishing, your SPFx web part will appear inside Outlook.
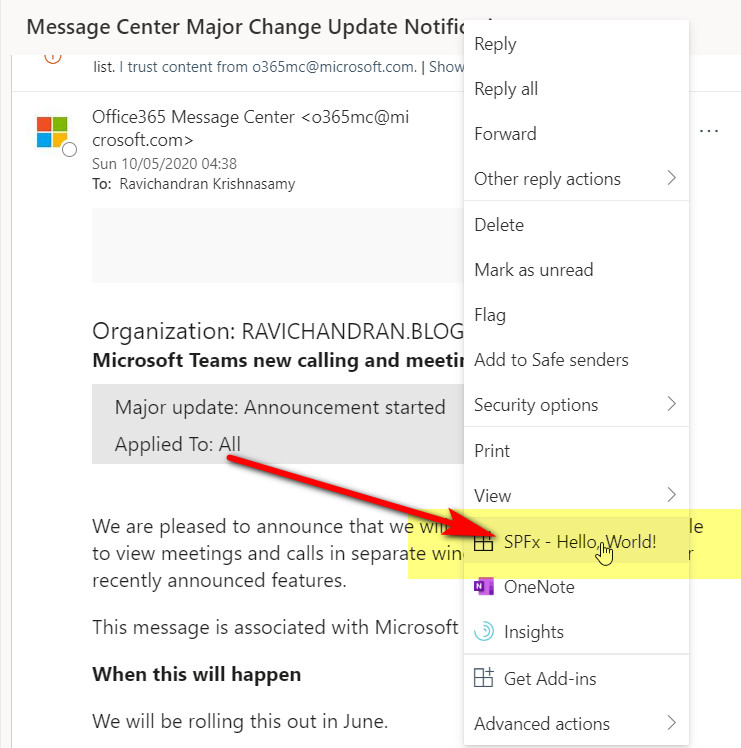
🧭 Testing the Outlook integration
- Open Outlook Web or Desktop Outlook.
- Compose or open any email.
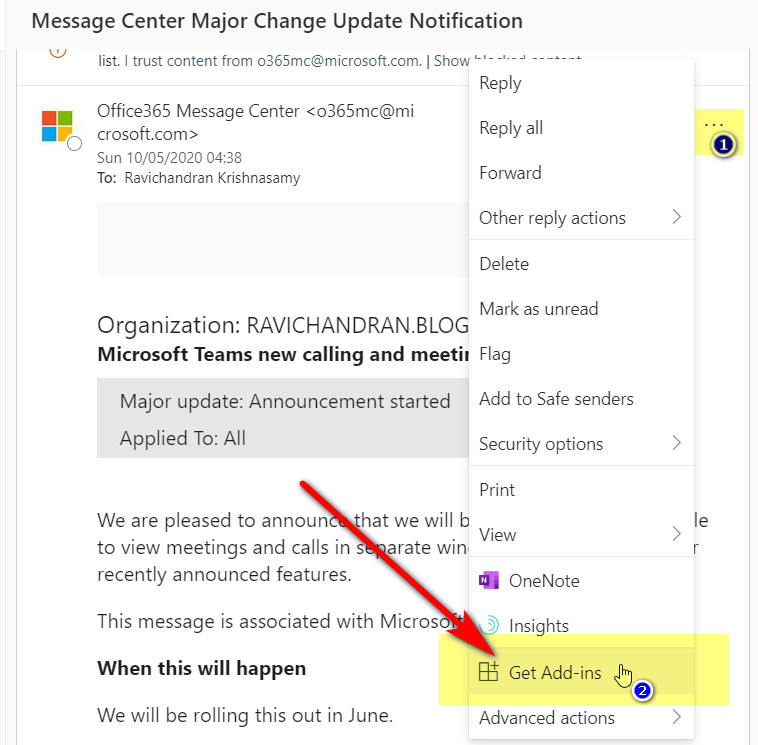
- Click on the Add-ins section from the toolbar → You’ll see SPFx - Hello World.
- Once launched, it will render your SPFx Hello World component directly within the email pane.
🧱 Summary
You’ve successfully created an SPFx Hello World web part that runs inside Microsoft Outlook as an Office Add-in.
This enables seamless reuse of your SPFx components across SharePoint, Teams, and Outlook — all using a single codebase.
📂 GitHub Source
View full SPFx project on GitHub:Hello World web part in Outlook using SPFx
Author
 Ravichandran@Hi_Ravichandran